
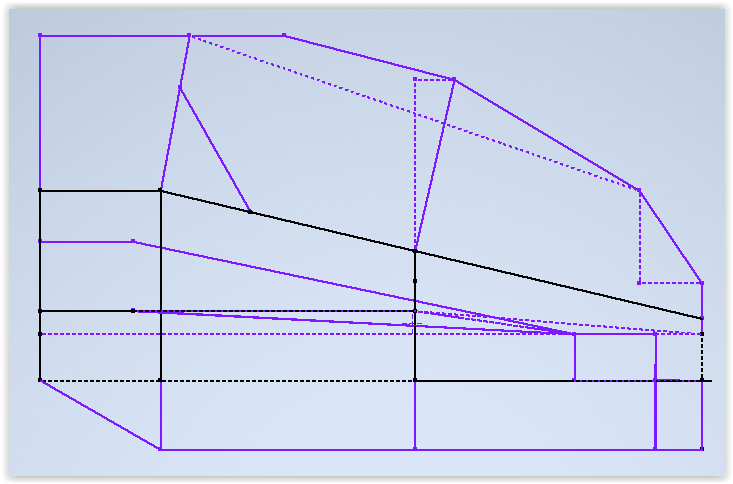
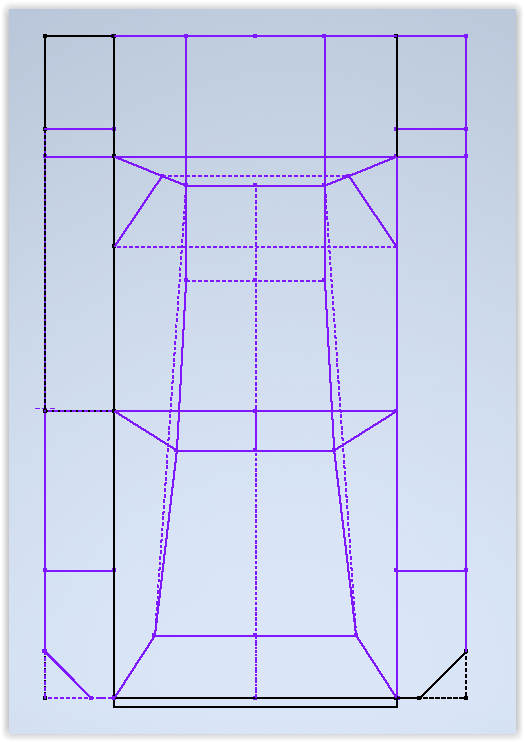
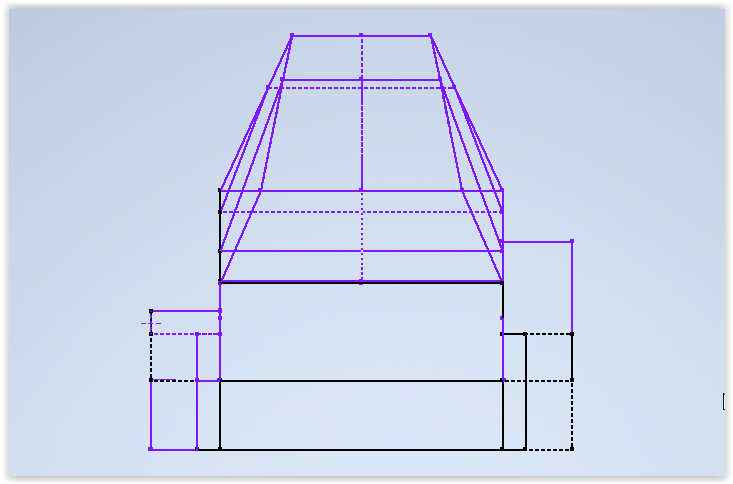
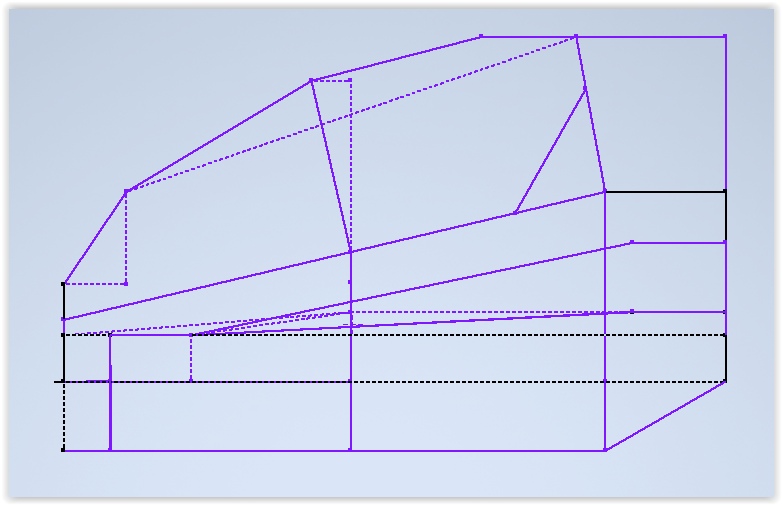
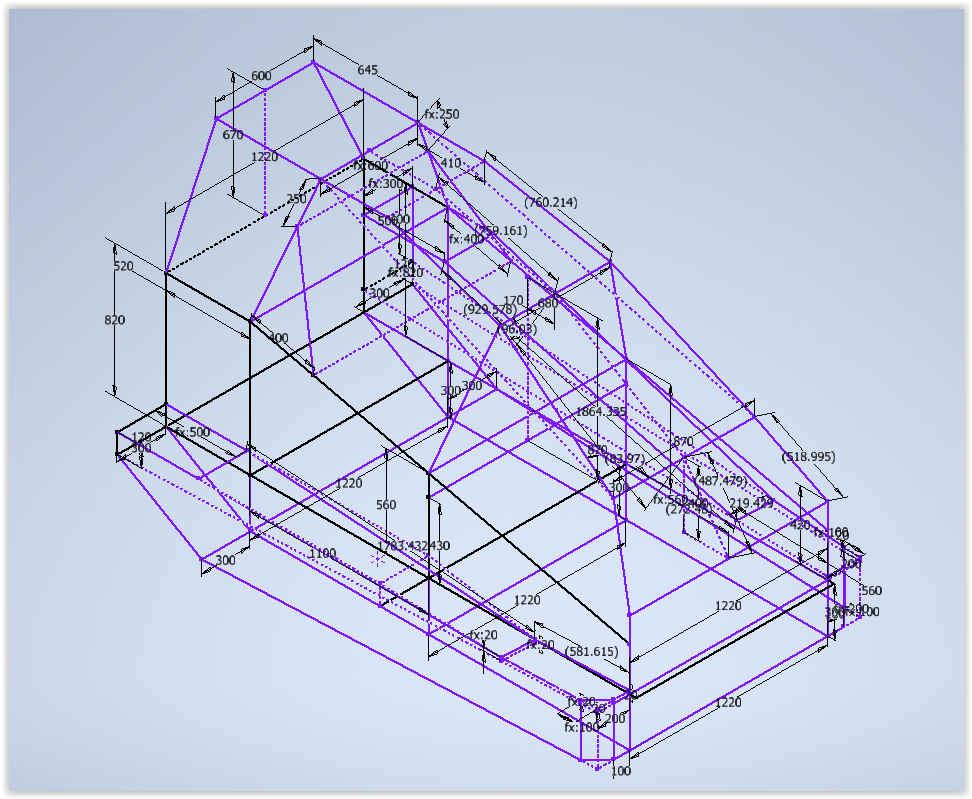
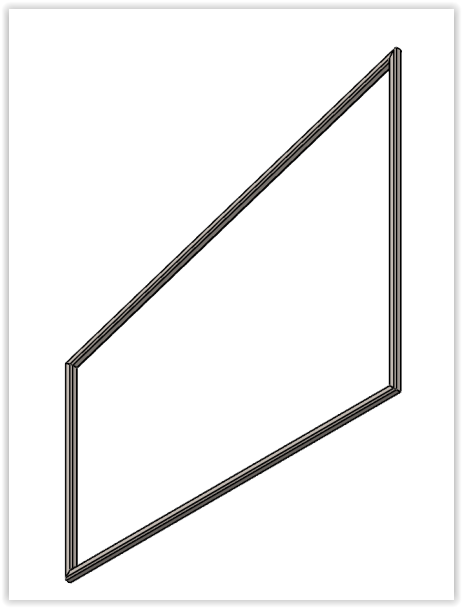
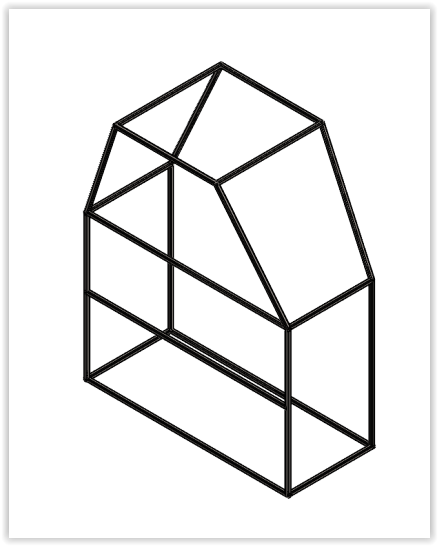
the frame section profiles

As part of this project I actually learnt how to TIG weld (on weekends by a TAFE teacher in between jobs…. )
It took me a day or 2 to start producing decent welds on some scrap pieces, butt joints were easiest, & outside / flats, it was getting into the insides of 90 degree joints that I had the most difficulty, but this was expected so early on as my skillset just wasn’t there yet.
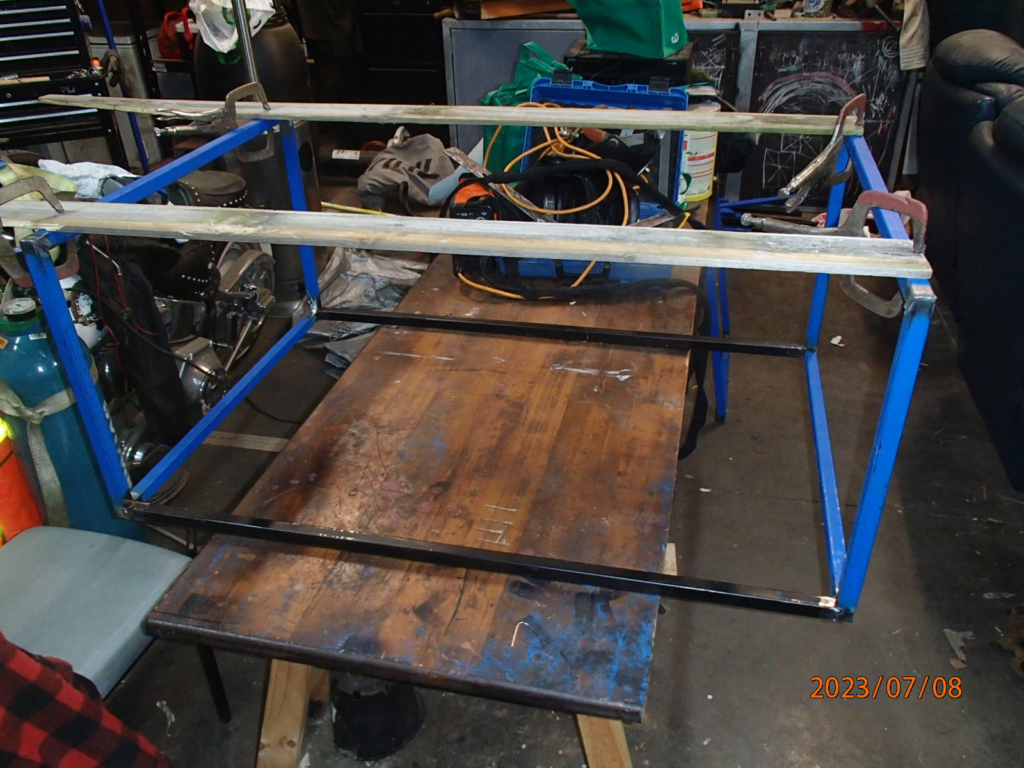
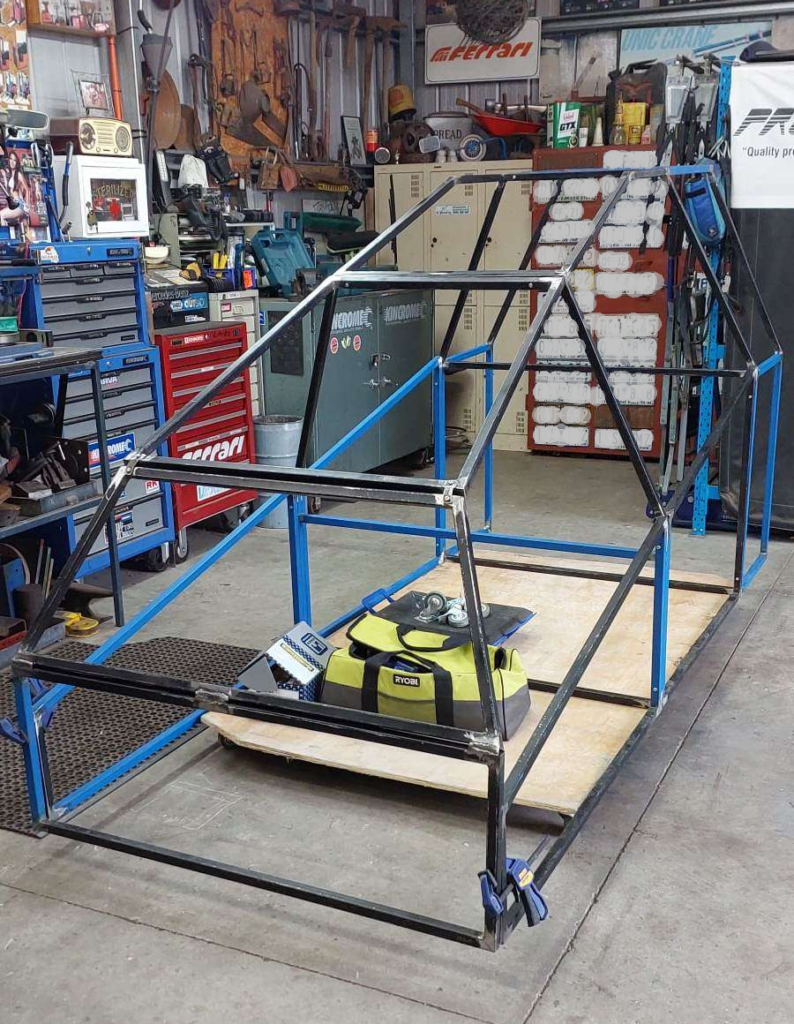
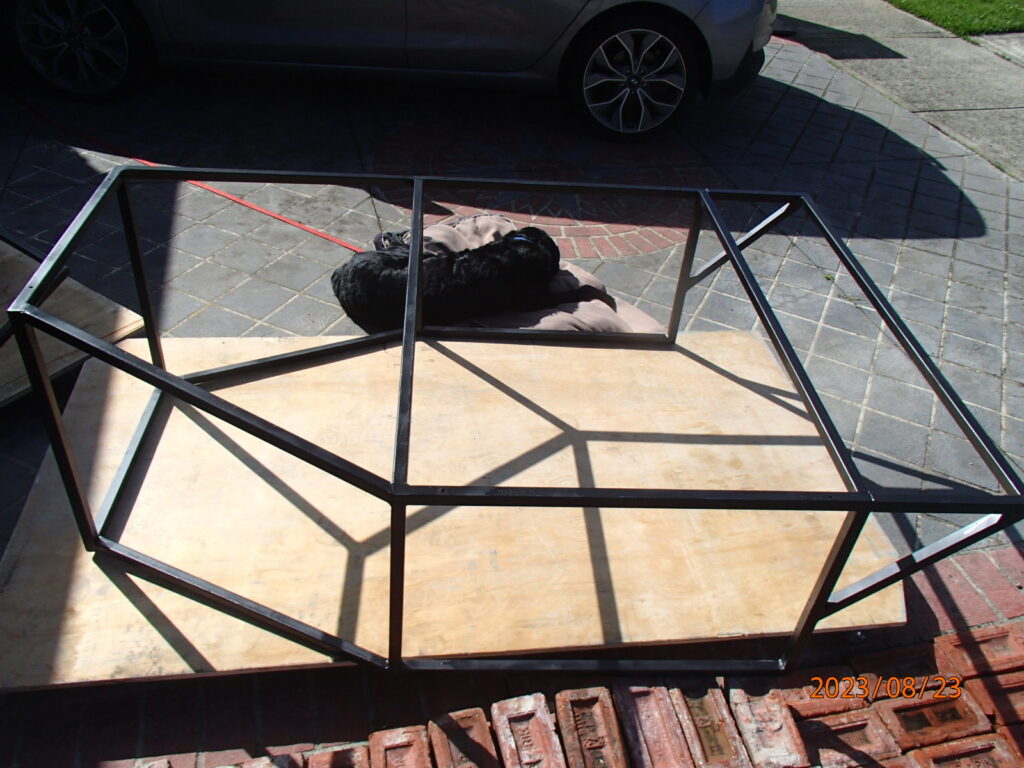
Once I was confident enough & he was happy enough with my welding he got me to start assembling parts of the frame, we started with the easy stuff, anything flat/square, the rectangle box at the rear of the pit was the obvious start point.
He was kind enough to allow me to store the frame assembly at his shed until we were finished (both assembling & learning), which was a big help
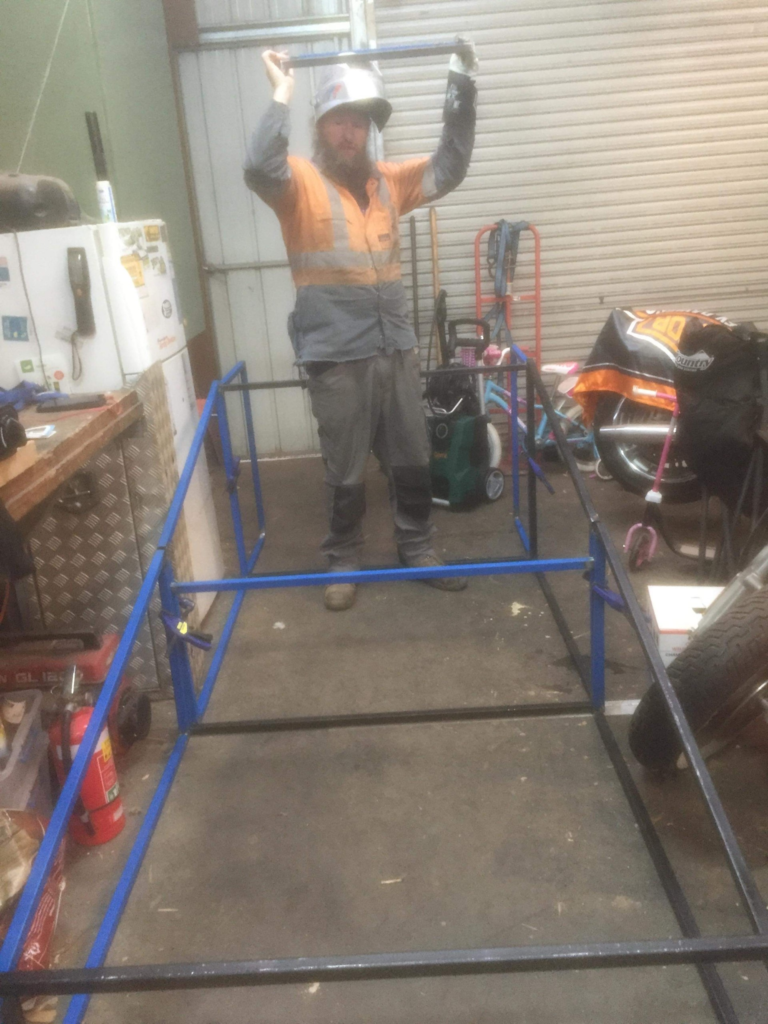
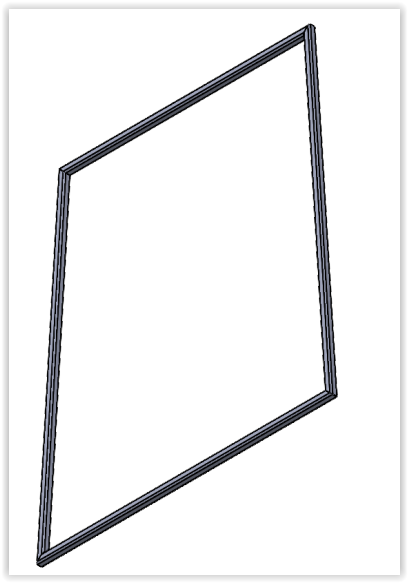
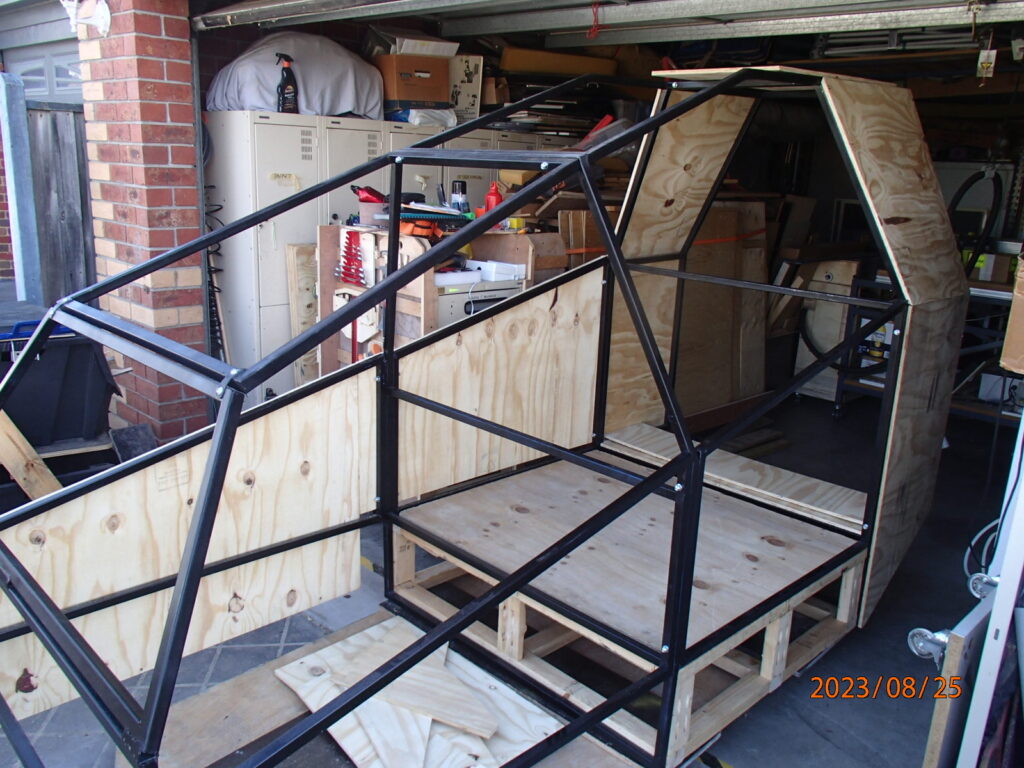
the front, sides & rear box were the easiest (squares, right angles, flat joins…)
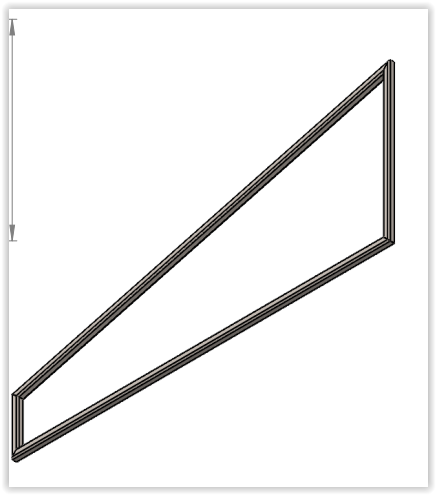
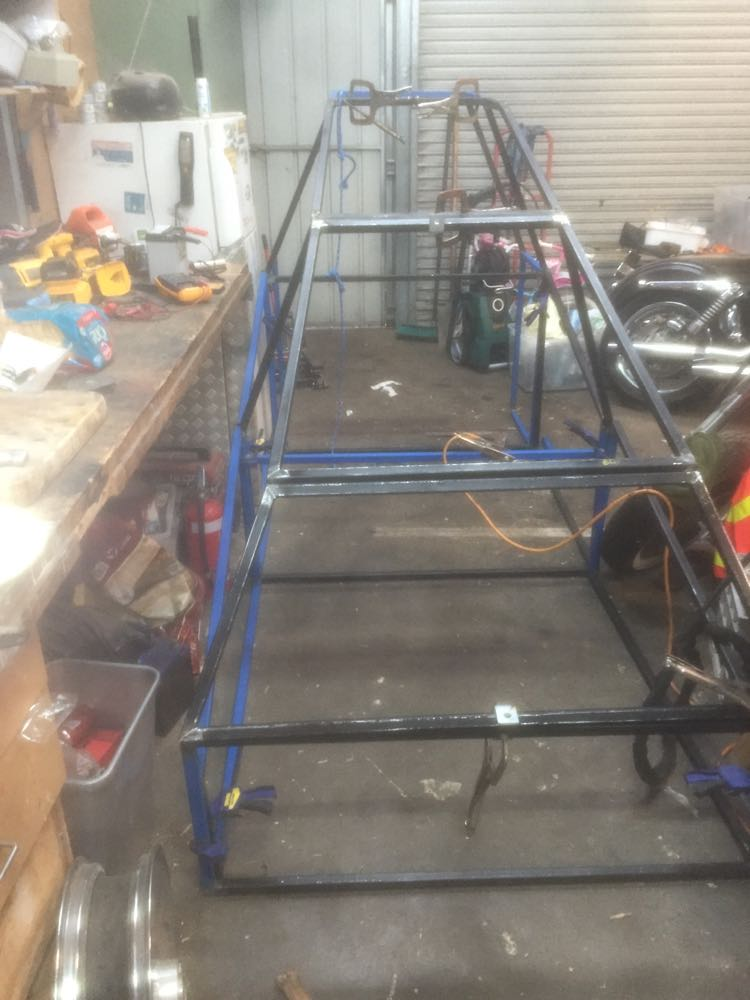
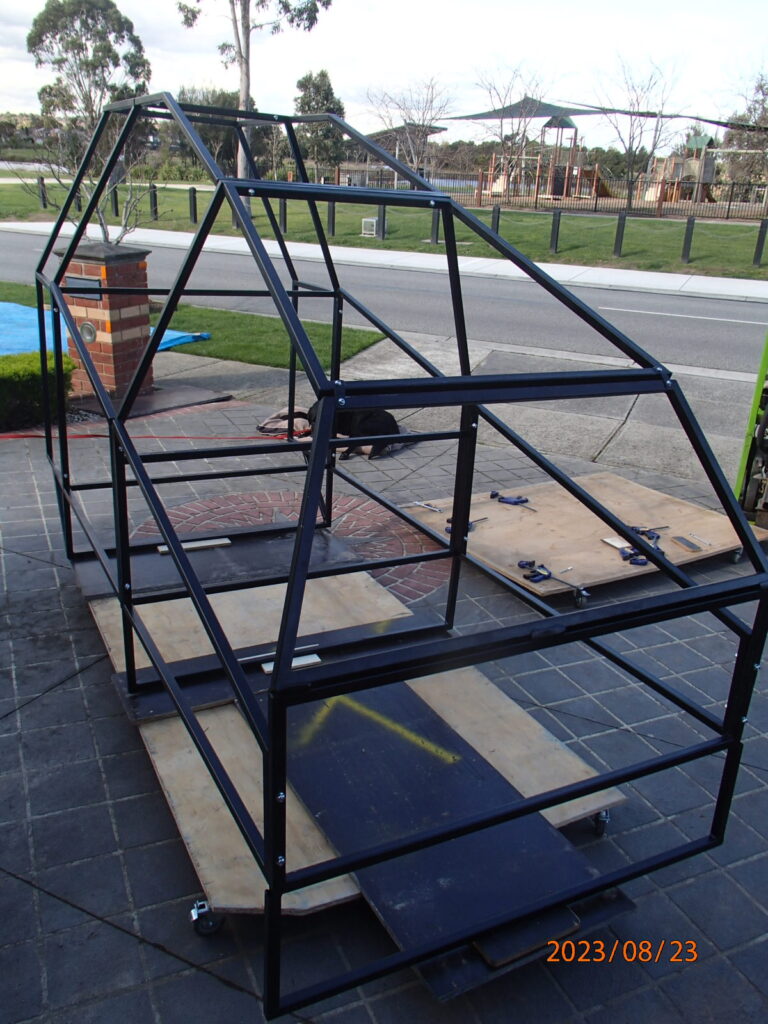
it was the angled sections of the upper front, upper middle & upper rear that caused the most headache, but making it in sections was a blessing which simplified the fabrication.
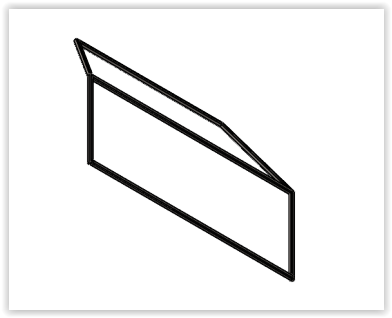
the canopy sections were also problematic, the CPG less so as it was a flat piece, but it wasn’t square & had to be completed first due to its more simple arrangement. Moving on to the PLT canopy, that was tricky, I had to make it in two sections then join them by putting it in place, clamping as much as I could, then tacking everything, double checking, adjusting & tacking again, before welding all the joins up.
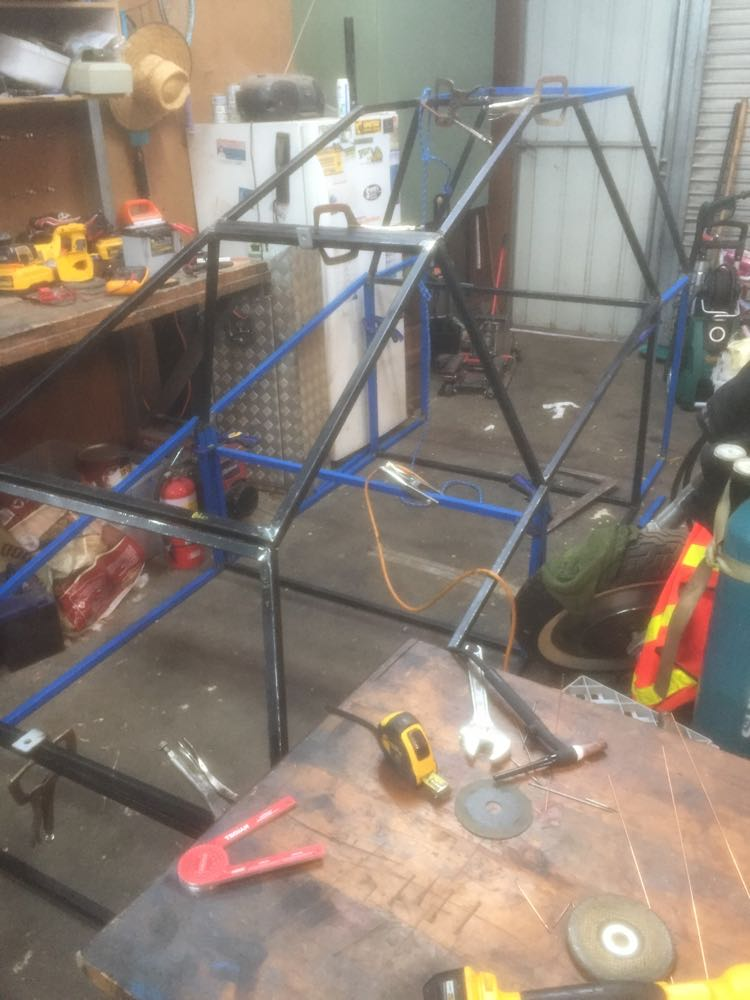
I had to take a similar approach to set the upper front & CPG canopy sections in place, to make sure that the angles were correct.
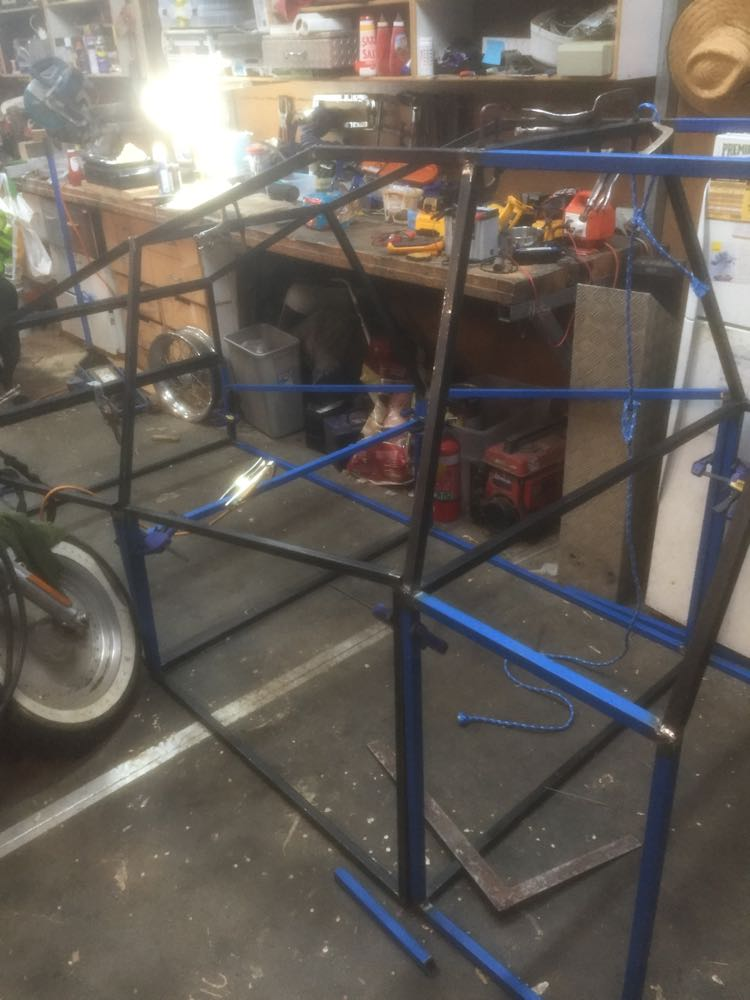
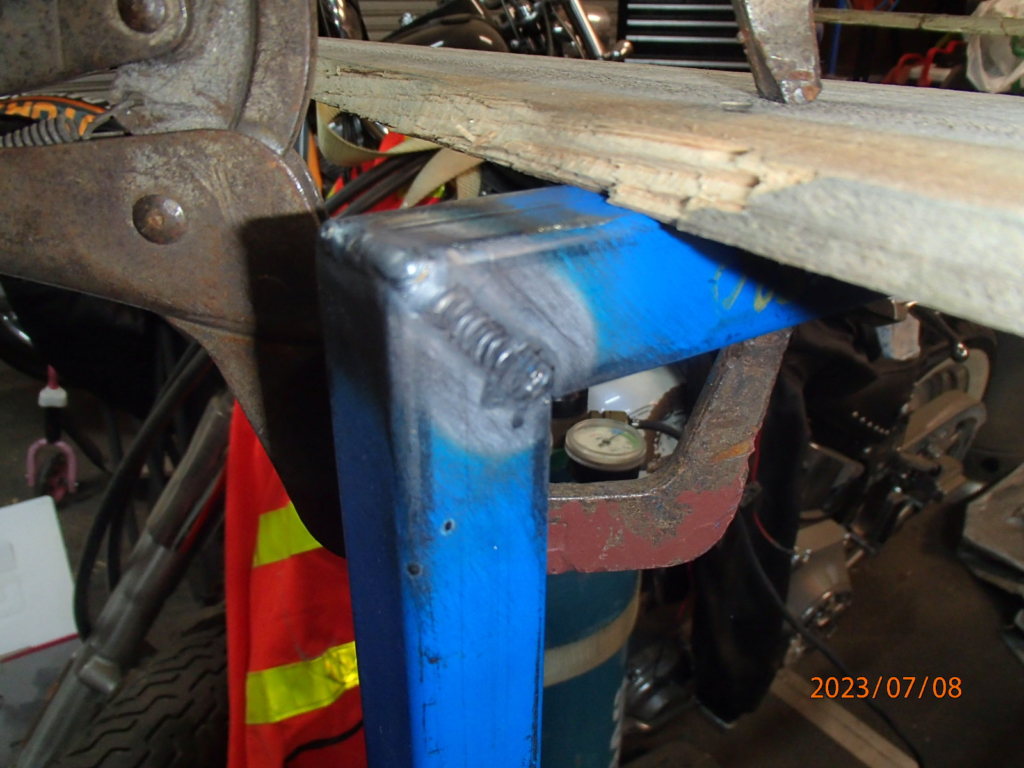
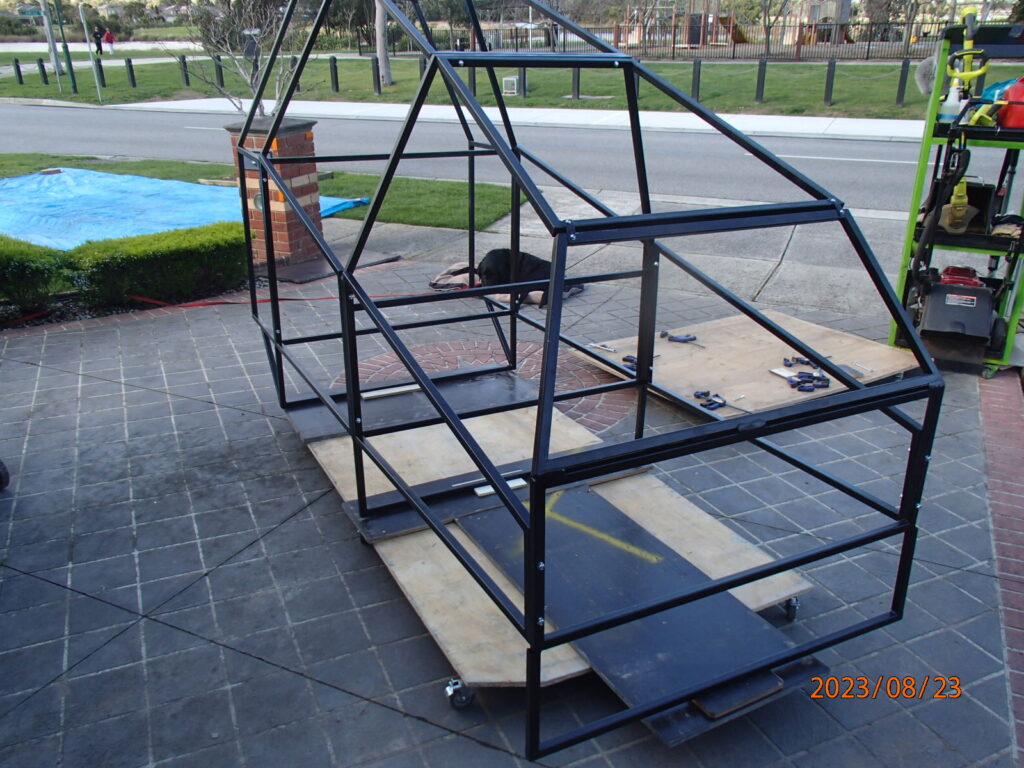
Before I drilled the bolt holes to allow for assembly/disassembly, I clamped all frame sections together & tacked them in place. This would prevent any chance of bolt holes becoming misaligned at any point, prior to completing drilling of all the bolt holes.
Once completed, I relocated to my brothers shed to finish off some of the modifications with the MIG welder, much quicker.
It was at this point, once I had placed a set in the PLT station, I then put a crate in the CPG at the approximate seating height & realised immediately that I had trimmed too much off the height of the 3D model…. oops
I needed to come up with the most economical method of increasing the height, as I was pretty much out of steel. I ended up having to purchase another 3 pieces of 6m lenghts of 25mm SHS (1.6mm wall). This would allow me to make legs for the front, middle & rear sections, to lift the entire assembly up by 300mm, the sides did not need to be extended, the shell would provide concealment of this, & the frame assembly itself would provide rigidity. A lot less welding, a lot less work 16 joins instead of 64.
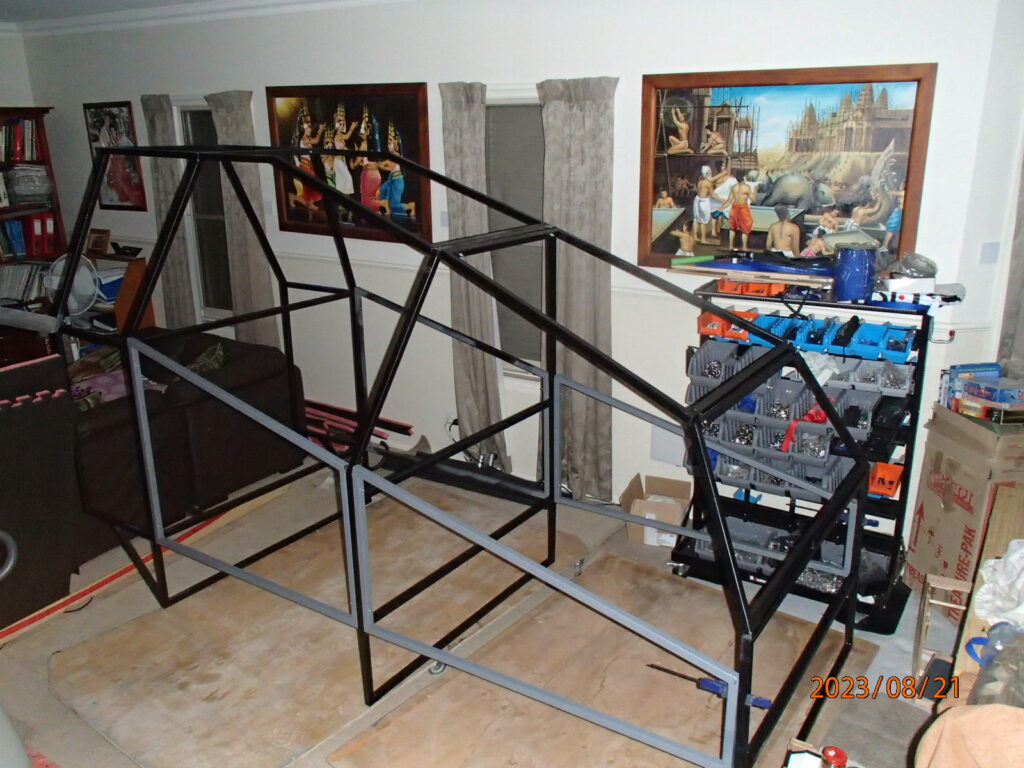
adjusted frame – with all new ‘legs’ & did a test fit in the lounge room
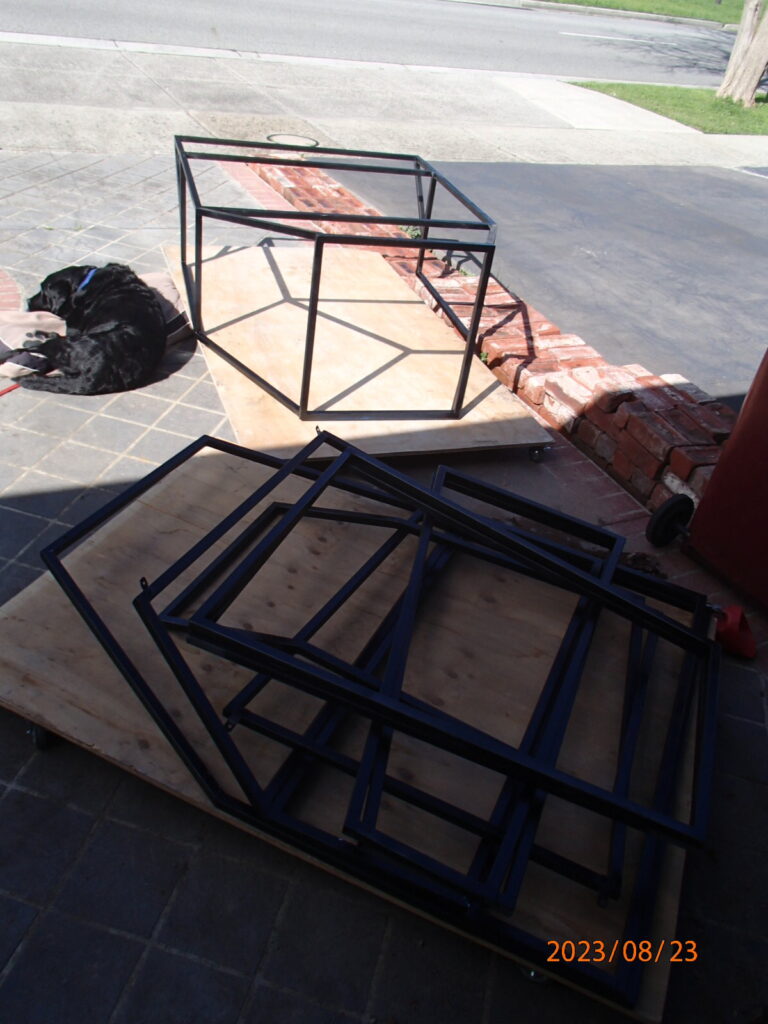
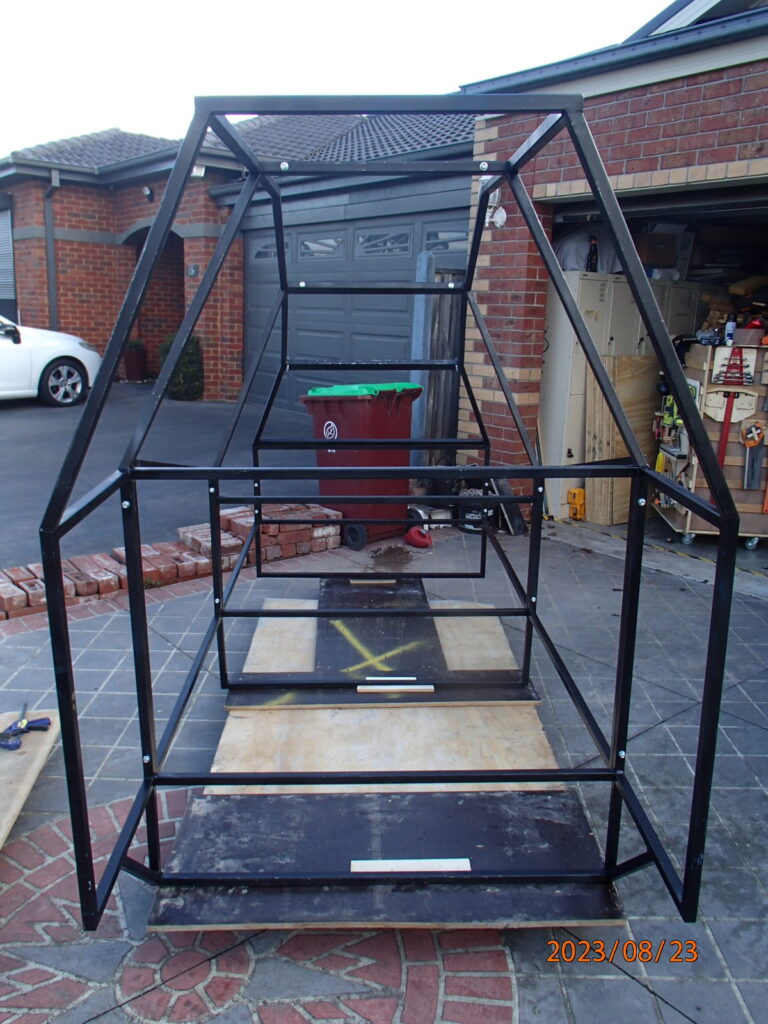
The frame is quite large, but disassembles down to a fairly small bundle, the largest part being the rear section
but all pieces will easily fit through a standard doorway. (no need to lift the roof off your house in order to get the simpit inside)
main sections of the steel frame are secure together via M8 bolts, the entire frame is then secure to a baseboard on castor wheels
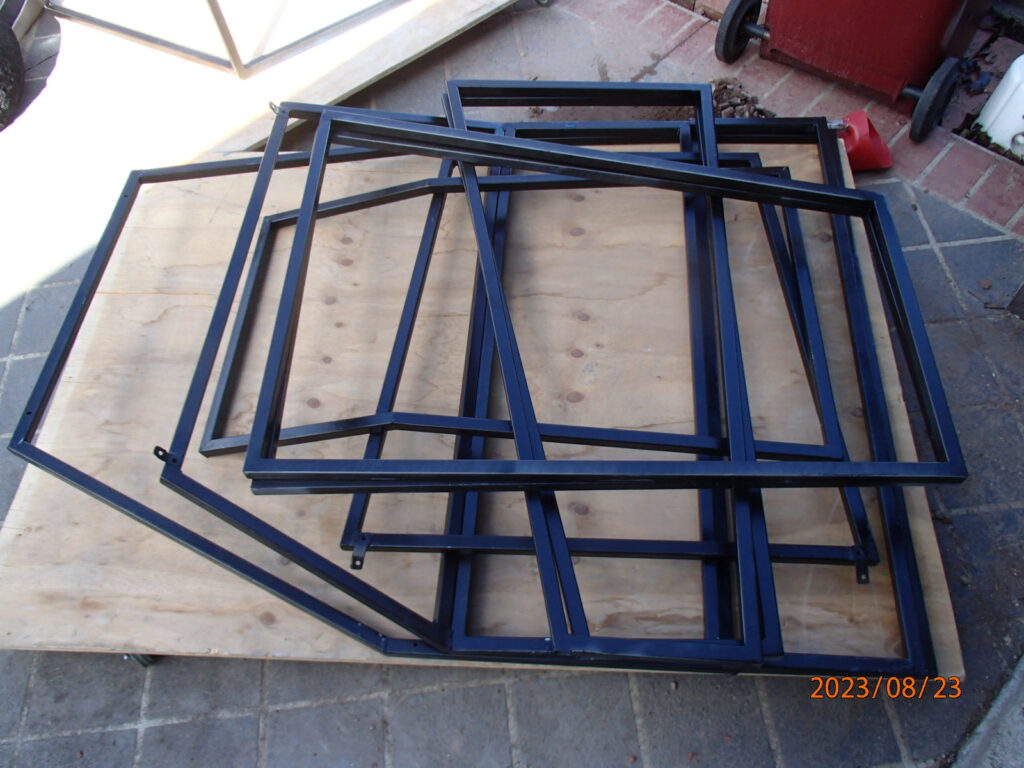
The plywood shell then affixes to the steel frame ins similiar sized sections to the frame, in order to make dismantling less labour intensive.